toyota sewing machine instruction manual
This manual provides a comprehensive guide to understanding and operating your Toyota sewing machine. It covers essential features, safety tips, and maintenance to ensure optimal performance and longevity of the device.
1.1 Safety Precautions
Before using your Toyota sewing machine, ensure all safety precautions are followed to avoid accidents and damage. Always turn off the machine and unplug it when threading, changing needles, or cleaning. Keep loose clothing and long hair tied back to prevent entanglement. Avoid distractions while sewing and never leave the machine unattended, especially if children are nearby. Ensure all screws, such as the presser foot holder and needle plate, are tightly secured to prevent mechanical failure. Regularly clean and maintain the machine to ensure smooth operation. Never use damaged or worn-out parts, as they can cause malfunctions. Keep the work area well-lit and clear of clutter. If unsure about any procedure, refer to the manual or consult a professional. Always disconnect the power when not in use for extended periods. Following these guidelines will help ensure safe and efficient sewing experiences.
1.2 Parts Identification
Familiarizing yourself with the components of your Toyota sewing machine is essential for proper operation and maintenance. Locate the presser foot holder, needle clamp screw, and needle plate screw, as these are critical for securing parts and ensuring straight stitching. The bobbin area, located beneath the needle plate, is vital for managing the lower thread. Identify the hand wheel, used for manual control, and the stitch selection dial for choosing patterns. The model number, usually found on a plate attached to the machine, is crucial for referencing the correct manual. Understanding these elements will help you navigate the machine confidently. Always refer to the provided diagrams in the manual for accurate identification. Regularly inspecting these parts ensures optimal performance and longevity of your Toyota sewing machine.
Accessorizing Your Toyota Sewing Machine
Accessorizing your Toyota sewing machine enhances functionality and versatility. Standard accessories include bobbins, needles, and presser feet, while optional additions like specialized feet expand creative possibilities for various sewing projects.
2.1 Standard Accessories Included
The Toyota sewing machine comes with a set of standard accessories designed to ensure a smooth sewing experience. These include high-quality bobbins, assorted needles, and presser feet for various stitching needs. Additionally, a screwdriver is provided for making adjustments, and a dust brush helps maintain the machine’s cleanliness. These accessories are essential for optimal performance and versatility, allowing users to tackle different fabrics and projects with ease. Proper use and maintenance of these items are detailed in the manual to ensure longevity and functionality.
2.2 Optional Accessories for Enhanced Functionality
To further enhance your sewing experience, Toyota offers a range of optional accessories tailored to specific needs. These include specialized presser feet, such as zipper, blind hem, and quilting feet, designed for intricate stitching and heavy-duty projects. Additional bobbins and needles ensure you’re prepared for various fabrics and thread types. An extension table provides extra workspace, making large-scale sewing more manageable. These accessories are compatible with most Toyota models and can be purchased separately or in sets; By investing in these optional add-ons, users can expand their machine’s capabilities, achieving professional-grade results. Always ensure accessories are purchased from authorized dealers to maintain compatibility and quality. These enhancements allow for greater creativity and efficiency, catering to both casual hobbyists and seasoned sewists.
Basic Operations of the Toyota Sewing Machine
Mastering the Toyota sewing machine involves understanding its operational flow, from initial setup to stitching, ensuring safety and efficiency in every sewing project. Proper techniques guarantee high-quality results consistently.
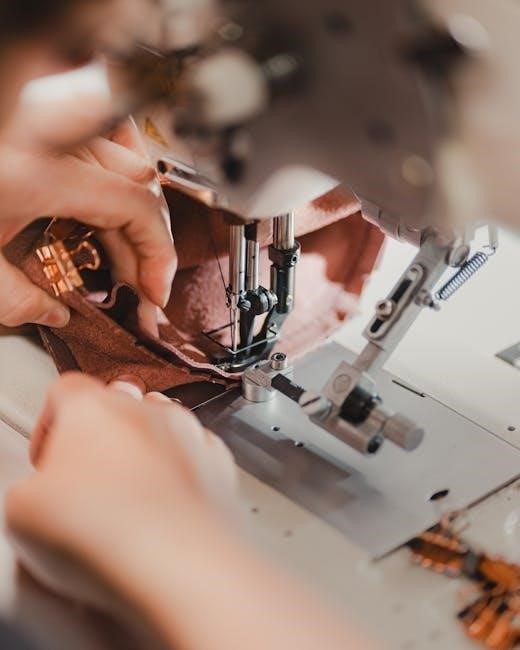
3.1 Threading the Machine
Threading the Toyota sewing machine is a crucial step to ensure smooth operation. Begin by turning off the machine and locating the spool pin. Gently pull the thread end from the spool and guide it through the tension discs, ensuring it is seated properly. Next, pass the thread through the take-up lever and then insert it into the needle bar. Leave a small loop at the end to allow easy passage through the needle. Carefully thread the needle, making sure the thread is not twisted. Finally, pull the bobbin thread gently to secure the stitch. Proper threading prevents thread breakage and ensures consistent stitching quality. Always refer to the manual for specific threading diagrams to avoid common mistakes.
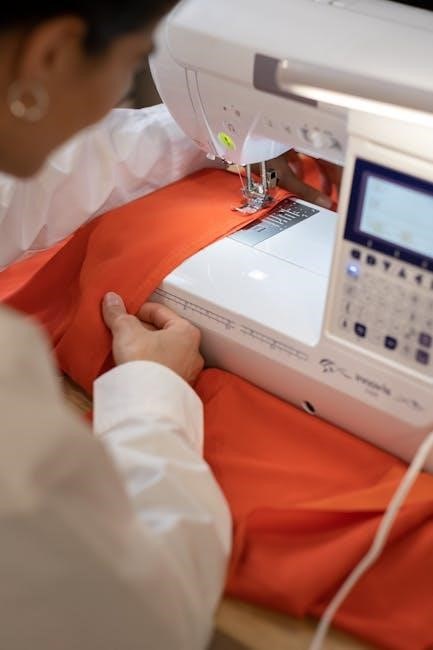
3.2 Selecting the Right Stitch
Selecting the right stitch is essential for achieving professional results with your Toyota sewing machine. The machine offers various stitch options, including straight, zigzag, and decorative stitches, each designed for specific tasks. Use the straight stitch for basic sewing and repairing, while the zigzag stitch is ideal for elastic fabrics and preventing fraying. Decorative stitches add aesthetic value to your projects. To choose a stitch, simply rotate the stitch selection dial or press the corresponding button, depending on your model. Always refer to the stitch chart or guide provided in the manual to ensure you’re using the correct stitch for your fabric type and project needs. Proper stitch selection ensures even stitching, prevents fabric damage, and enhances the overall quality of your work. Experiment with different stitches to explore the full potential of your Toyota sewing machine.
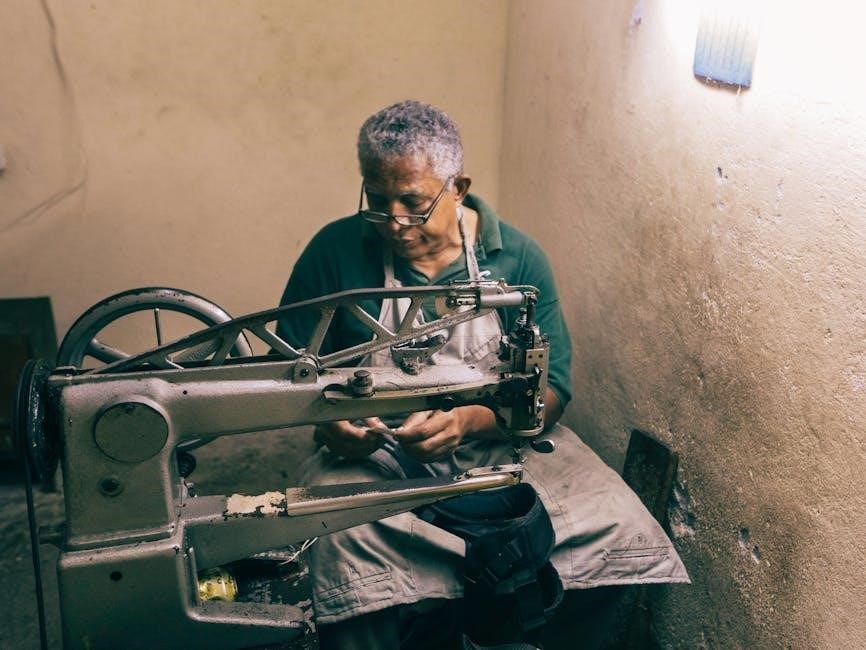
3.3 Operating the Machine
Operating your Toyota sewing machine begins with ensuring the machine is properly threaded and the correct stitch is selected. Plug in the machine, turn it on, and gently press the foot pedal to start sewing. Use the handwheel to guide the fabric smoothly under the needle. For precise control, especially when sewing curves or thick fabrics, reduce the speed setting. Always keep your hands clear of the needle and presser foot. To sew in reverse, pull the reverse stitch lever down before pressing the foot pedal. This feature is useful for securing seams at the beginning or end of your stitching. Maintain a steady pace to ensure even stitches. If sewing heavy or layered fabrics, consider using the walking foot or Teflon foot for better fabric handling. Regularly clean and oil the machine to ensure smooth operation. Refer to the manual for specific instructions on managing different fabric types and troubleshooting common issues during operation.
Troubleshooting Common Issues
Troubleshooting common issues with your Toyota sewing machine involves checking thread tension, ensuring proper needle alignment, and cleaning the machine regularly. Refer to the manual for detailed solutions to specific problems.
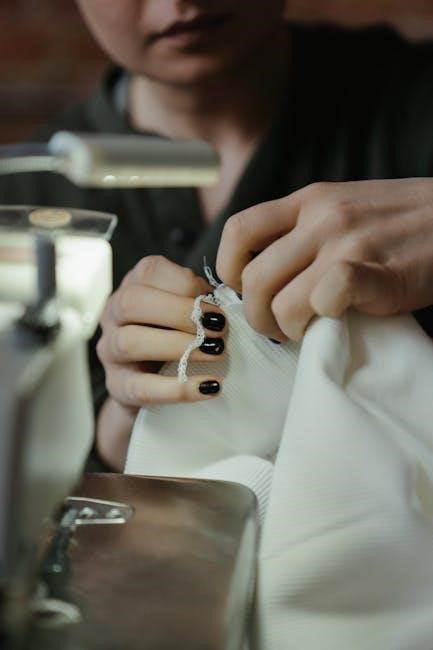
4.1 Thread Breakage and Tension Problems
Thread breakage and tension issues are common challenges when using the Toyota sewing machine. These problems often arise from improper threading, incorrect tension settings, or using low-quality thread. To address thread breakage, ensure the machine is properly threaded by following the manual’s guidelines. Check the take-up lever and presser foot to ensure they are in the correct position. If the thread is too tight or too loose, adjust the tension discs or the bobbin case. Using the right type of thread for your fabric is also crucial. Regularly cleaning the machine’s tension discs and bobbin area can prevent thread breakage. If issues persist, re-thread the machine with the power off and test on a scrap piece of fabric. Proper maintenance and adjustments can help resolve most thread-related problems effectively.
4.2 Machine Not Stitching Properly
If your Toyota sewing machine is not stitching properly, it could be due to incorrect thread tension, a improperly seated needle, or issues with the bobbin. Ensure the upper thread is correctly seated in the take-up lever and the bobbin is inserted properly. Check for loose screws or misaligned parts. If the machine skips stitches, the needle may be dull or bent, requiring replacement. Verify that the presser foot is lowered before sewing, as this ensures fabric feeds correctly. If the issue persists, consult the manual for troubleshooting steps or contact Toyota support for assistance. Regular maintenance, such as cleaning and oiling, can also prevent stitching problems. Always ensure all adjustments are made with the power turned off for safety.